Many systemic games require the construction of custom tools. They can be for setting up objects in the simulation, as I’ve covered before, or they can be suited to speeding up tedious processes like asset imports or custom settings of one kind or another. But there is a dark side to custom tools. I call it work debt.
Work debt accumulates between departments when an element of the work needs to be done in custom tools and no one has been scheduled to do this work since the tool in question didn’t exist a week ago, or maybe still doesn’t exist in stable form. The custom tool may even be purely theoretical for a large part of the project’s life cycle—something we know we need to make at some point, but haven’t had the time to prioritise.
We’ll tackle the topic of why we make custom tools before discussing work debt, and if you disagree, as always, comment the post or e-mail me at annander@gmail.com.
Data
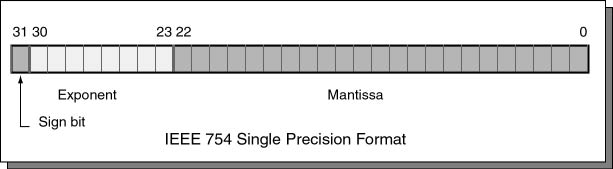
Computers operate on data. At the hardware level, bits flipped between zero and one. At a more useful level for gameplay purposes, a variable of some kind. Bool, int, float, etc. The health number in the game designer’s spreadsheet is data. The glossiness setting on a material is data. The signing information for your IOS builds are data. Everything is data.
But this is only ever relevant at the level where your computer is operating on the game you have made, or when you are tweaking numbers to make the game feel nice to play. Most of the time, we don’t express information as “just” data; we express it as content.
Content
So data is great, but it also needs to be given meaning. This is what we use content for. Content is bundles of data that we have provided with contextual meaning. Data formatted following certain criteria. Since this is Game Development 101 and not really systemic design, I’ll just provide a few examples so you understand what point I’m trying to make.
Texture
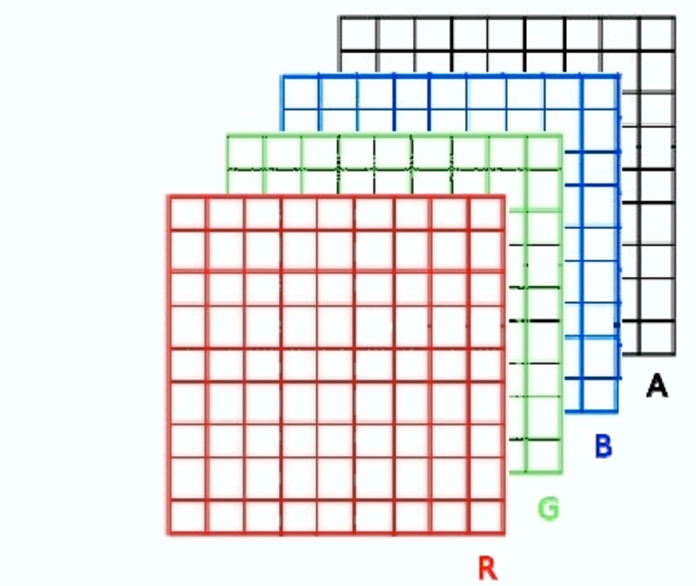
Fundamentally, a texture is a two-dimensional map of colored pixels. We color these pixels by combining three floating point values together, usually representing the Red, Green, and Blue color values respectively. These are the different color channels of the texture. We can also use a fourth channel that we’ll refer to as an Alpha Channel, which determines the opacity of each pixel’s color.
Together, we can refer to these four channels as RGBA. Functionally they’re just four floating point numbers per pixel that we stack together and call a texture.
Mesh
A 3D mesh is described as an array of points in 3D space, called vertices, and how those points are connected into triangles. For each vertex, separate normal and tangent vectors are also stored, as well as vertex color, bone influence weighting per bone in the mesh’s skeleton, and UV-mapping coordinates expressed as a two-dimensional vector.
Much of this data can be used in clever ways, like using the vertex colors to store an object’s heat values when viewed by infrared goggles, or storing more than one UV in the UVs. But it’s still the same mesh.

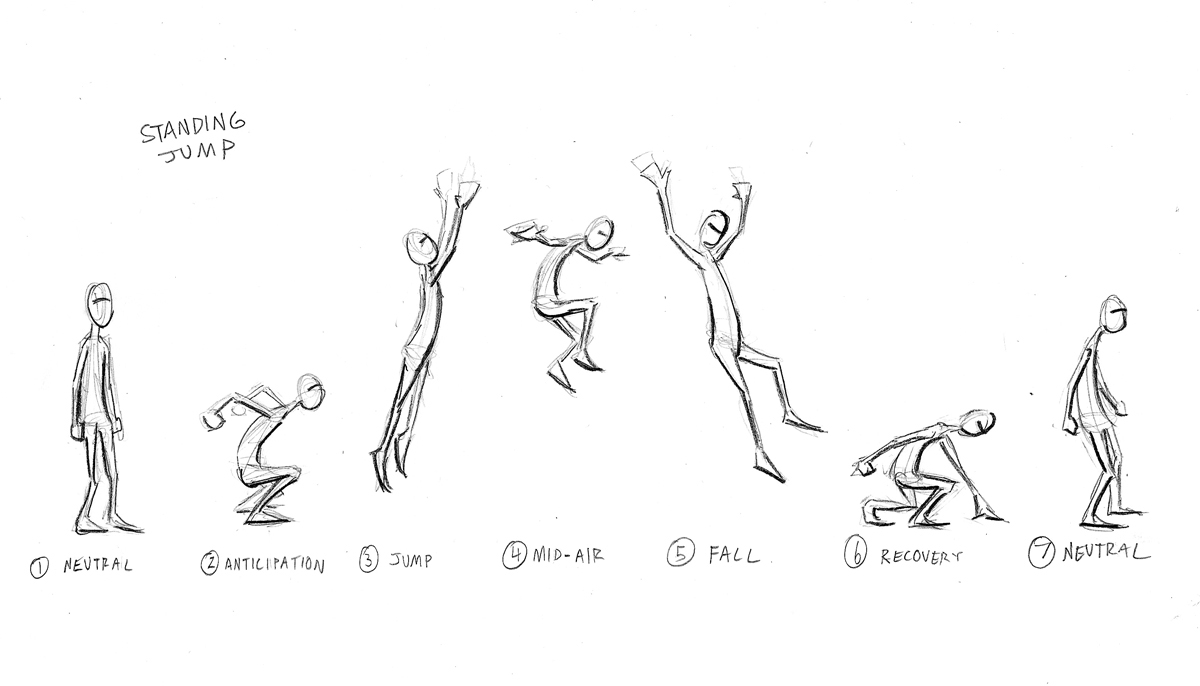
Animation
A mesh with bone influence weights can be provided with animation data. This data has to be compatible, so that a bipedal humanoid doesn’t attempt to swim like a dolphin, or a higher resolution animation attempts to play on a lower resolution skeleton.
Each key frame will contain information about which bones it affects and whether it affects location, rotation, and/or scale. The animation content itself is usually a timeline range of such key frames, where each frame blends into the next one.
Sound and Music
Sound is stored, in compressed or uncompressed form, using some type of audio coding format. This is a representation of the byte stream generated by the sound. You can think of sound and music somewhat similarly to animation, except that the timeline keeps track of changes in pitch, depth, and volume instead of location, rotation, and scale. This is of course a gross simplification, but the output of sound in a game engine can be thought of in this way.

Levels
So far, content has been fairly generic. Models, animations, and sounds, are not specific to games: they’re used in a wide range of industries. But the next type of content is more specific: levels.
Levels usually contain both geometry and logic and often serve as the point where you put your game together. It can be as simple as storing the relative positions of a long list of 3D model instances or 2D texture tiles, or as complex as your tools department allows.
Levels tend to be one of four things (very broadly speaking):
- Symbols in a text file, like letters and numbers, that can be interpreted by an in-game parser and turned into a level at load- or runtime.
- Combinations of brushes or tiles placed entirely in a level editor. A brush is a primitive shape that’s either added to or subtracted from a theoretical infinite space. A tile is usually a texture that forms a small part of a larger grid pattern.
- Combinations of modular 3D meshes, built externally, then combined in an editor. Maybe wall segments turned into hallways, parts of buildings combined into buildings, or something else. The meshes are built externally and then put together in a level design tool.
- Complete 3D environments, built externally, then lit and scripted in a level editor. This is a fairly uncommon practice, but a central element of some game studio pipelines. Maybe most famously that of Bungie’s Halo games.

Established Tools
What you should see by now is that content is bundles of data. To be able to produce this content, there’s a wide range of tools that have matured into a whole ecosystem of game development software.
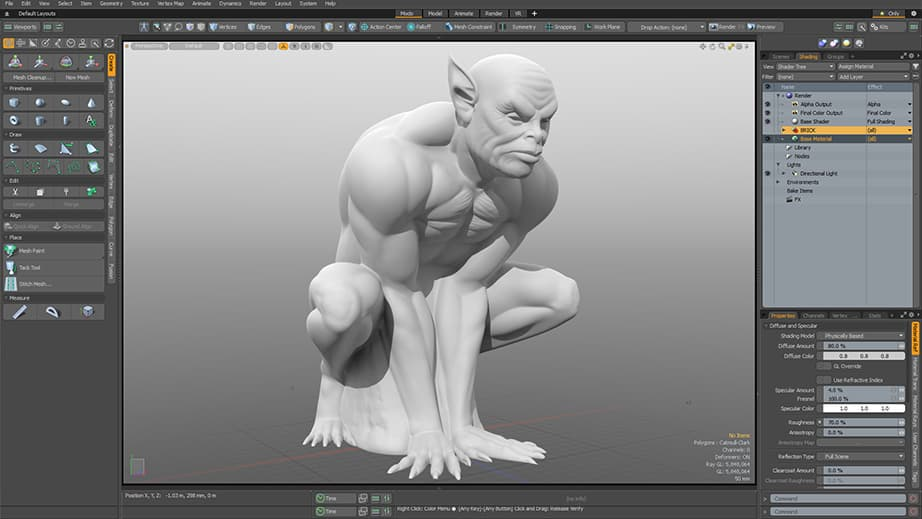
Modeling Tools (Maya, Modo, Blender)
Manipulating, generating, and optimising vertices, edges, and faces. Managing the UV-maps and bone weights. Baking normal maps, ambient occlusion, and lighting. There are many tasks that a modeling tool completes for you and most of them can also be customised and extended using scripting.
It’s not uncommon for larger studios to focus on one modeling tool or suite of tools and program custom exporters and importers for them to tie them more cleanly into their game engines. Making the pipeline funnelling new content between tool and playable game as smooth as possible can be the responsibility of an entire department of developers.
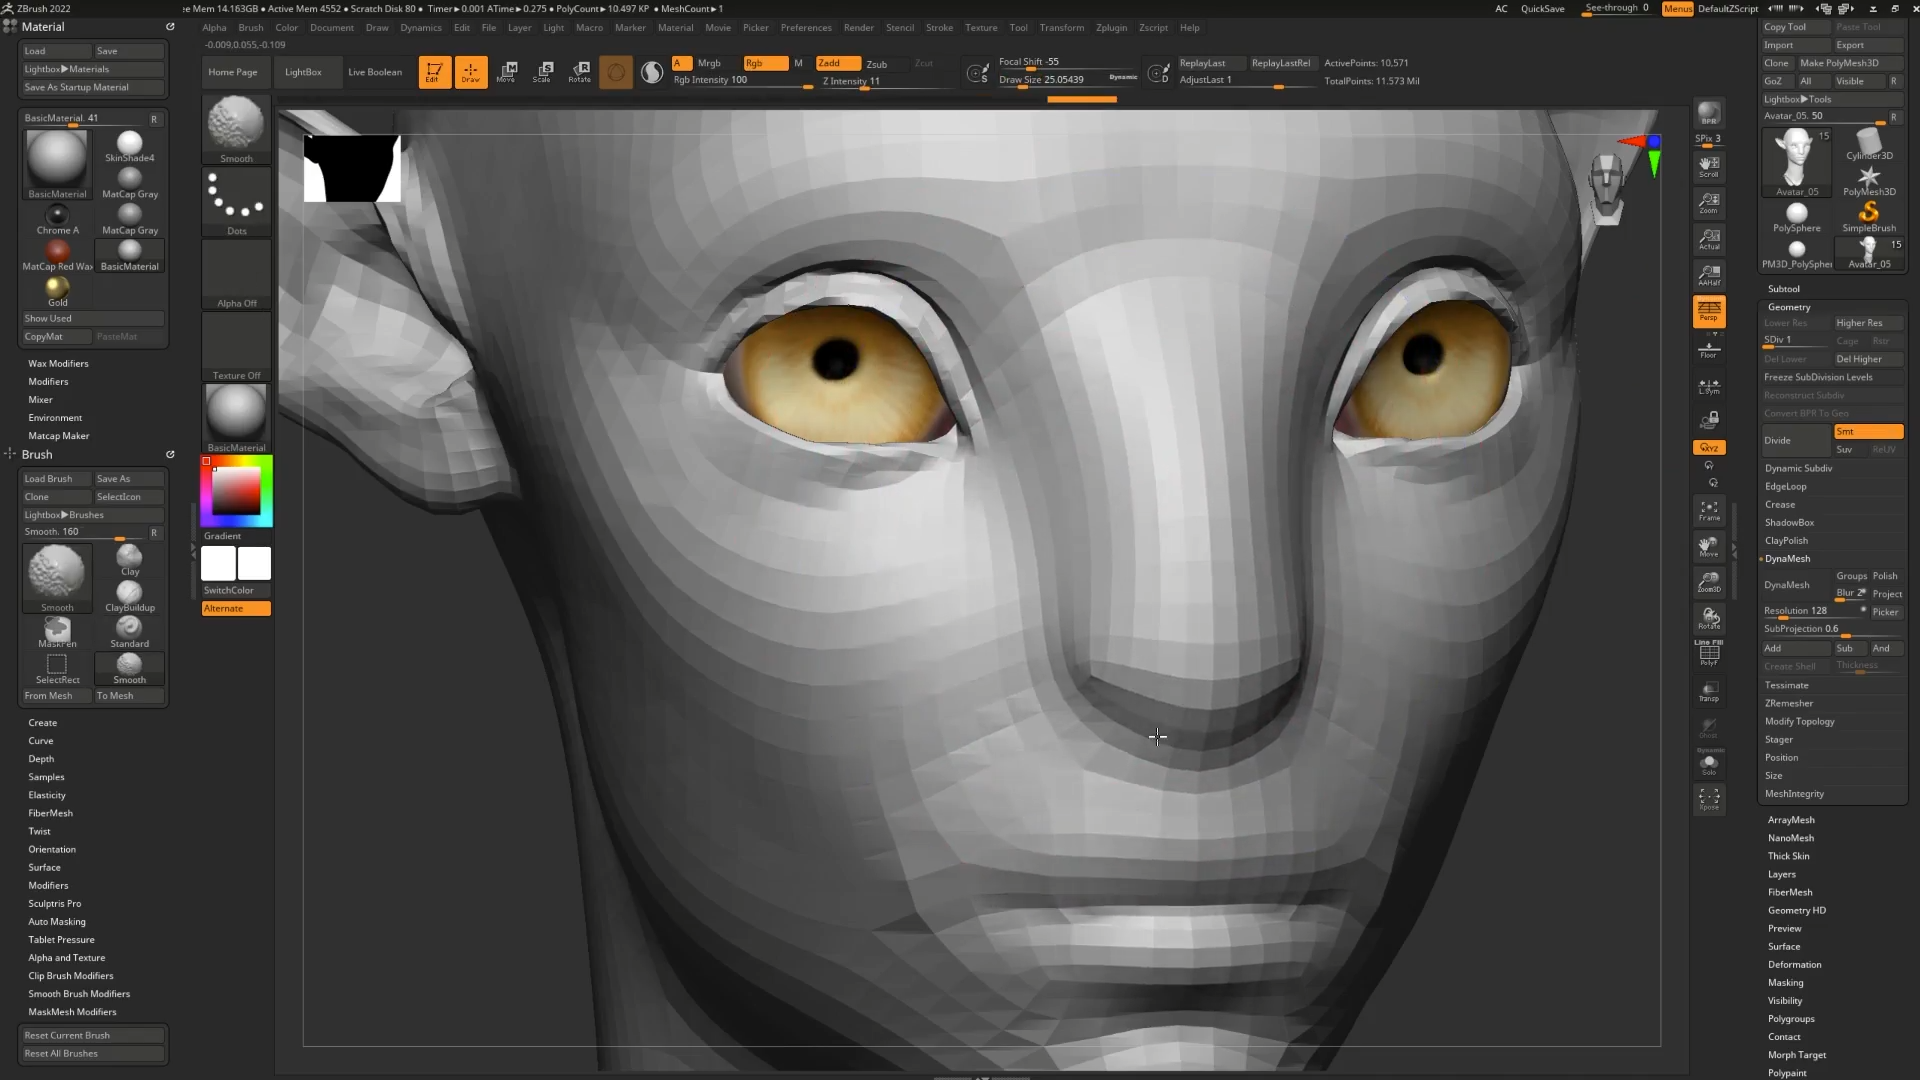
Sculpting Tools (ZBrush, Mudbox, Blender)
For higher polygon counts, which you’ll rarely see in-game but may bake down into texture maps, there are specialised sculpting tools that are often used on higher fidelity games. These tools share many similarities to modeling tools but with an added resolution that makes it possible to “sculpt” details as if you were sculpting with clay and not merely manipulating points in 3D space.
Not all game content pipelines involve sculpting, but pretty much all high resolution 3D games do.
Animation Tools (Motion Builder, Blender)
Add a timeline to a modeling tool, make it possible to construct skeletons and “rigs” for animating the skeletons in a realistic or artistic manner, and you have an animation tool. The timeline will have scrubbers, options for adding and removing key frames, automatic playback, looping, slow-motion, and a wide range of other features to make life easier for an animator and/or technical artist working with rigging and skinning (“skinning” is a term used for setting the bone weights of an animated mesh).
Some game engines will use animations exactly as they are, while others may have additional logic added at runtime. For example, using Inverse Kinematics to make sure that the feet are placed correctly on the ground—this is not animated, it’s compensated for in realtime.

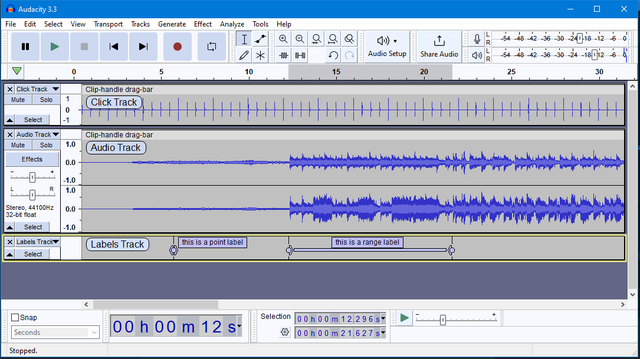
Sound Tools (Audition, Audacity)
As with animation tools, a sound tool is based on a timeline and shows the pitch and volume of the sound or music you are working on. It has the same scrubbers and framing tools as you’d expect from animation, but will have additional tools for crossfades, reverb effects, and other things that are specific to sound.
Procedural Tools (Houdini, Substance Painter/Designer)
For visual effects in movies and also for games, procedural tools are gradually playing a larger role. A procedural tool still usually generates the same types of content as you’d expect from any of the previously mentioned tool suites, but it does so systemically and will often allow customisation on the result end.
Imagine that you make a cable, for example. You could model the cable to fit in its environment, using detailed specification, or you can make a procedural cable asset using Houdini. With such an asset, you can provide it with an input spline, a texture, cable width, and the procedural asset will then generate a cable along the specified path. This can be at runtime, at loadtime, or offline, depending on how you choose to integrate the asset with your game.
Procedural tools are amazing, and personally I both think and hope we’ll see much more of them in the coming years.

Custom Tools
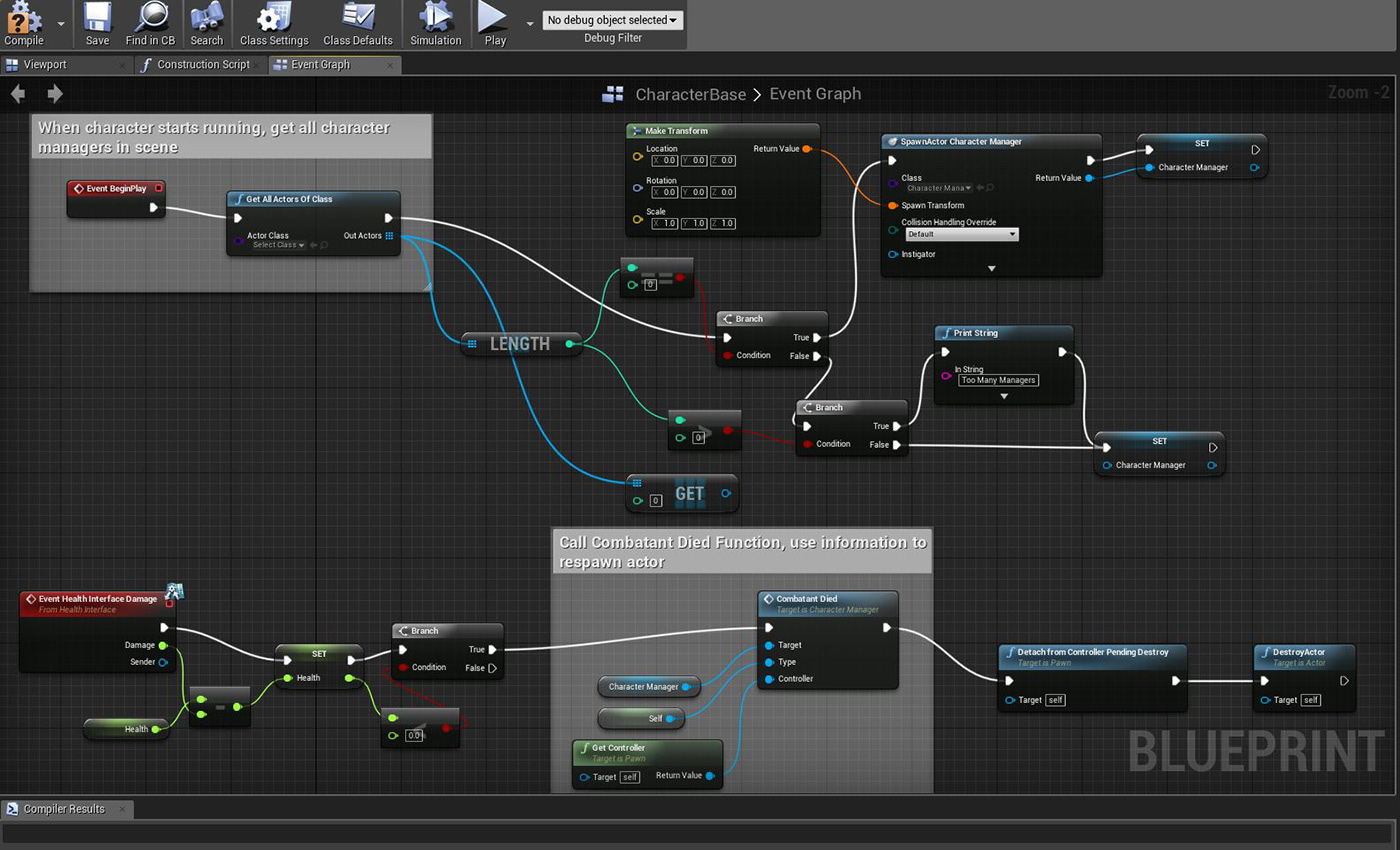
So far so good. But the dynamic suddenly changes once your game starts using content that doesn’t conform to what you can produce with established tools. This is where you will either have to combine existing tools in painstaking ways, or build custom tools.
Examples of Tools
The following are some examples of custom tools, what content they were used for, and screenshots from the tool itself. I’ve only used examples I have personal experience with and that could be shown. For that reason, most of them are in Unity.
Riddick: The Merc Files Scripting Tools
Riddick: The Merc Files was a mobile game that took inspiration from Vin Diesel’s Riddick character. It was a stealth game for mobile devices and released in 2013. Some people liked it, others mocked it.
I worked on the design, AI, tools, and gameplay for this game. It was built in roughly ten weeks, from nothing, and because of the very constrained timeline we had to make things extremely fast and make as much use as possible from each piece of content we created.
We used custom per-level scripting tools to allow our level designers to make different spawning setups, patrols, and so on in a rapid manner. Each enemy spawn point defined the behavior of the AI that was spawned at that point, and could also be set to only be used with certain objectives:

At the higher level, these spawn points were then added to Spawn Sets, where a level would only ever spawn one such set, allowing level designers to make multiple alternate spawn setups per game mode for added level replayability. It was also possible to use a forced spawn set, always defaulting to the same set, in order to make testing easier. This was only available in the editor.

Tools were responsible for setting up mission objectives and enemy spawns. Data that was completely specific to the game and had to be iterated extremely fast given the constrained timeline.
“Douchebag Dave” Concept Editor
At one place we had occasional Hack Fridays where everyone was encouraged to work on prototypes and game concepts that we had some interest in. One such day, I decided to work on a dialogue prototype using a bunch of Asset Store assets I already had lying around. To have something to say, the concept was conceived as “Douchebag Dave,” where you played the titular character, recently thrown out of the tavern, and now looking for a drink.
It handles scriptable behavior events responding to changes like detection, proximity, and commentary, and the player’s only interaction was to insult the other characters in the level.
Each event in the concept editor can trigger MoveData, AnimData, SpeakData, or the fantastically named DataData. MoveData tells a character where and how fast to move, AnimData tells it when and how to animate, SpeakData tells it to say something, and DataData can transmit data to other entities or to the entity itself. An example of DataData would be the knowledge that “yes, I have commented the Cart.” It was used to generate back-and-forth dialogue and to make it possible to make complex tree-like dialogue without any actual tree structure.
For example, if Dave had commented the cart to its owner, a nearby character could use that data to say something about it if Dave spoke to them later. Or if they spoke to someone else.

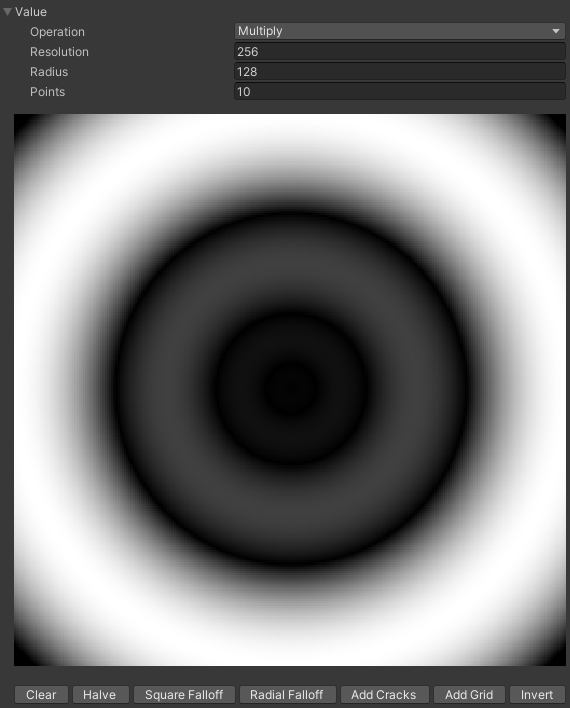
Killshell Crater Tool
Killshell is my own little pet project that will hopefully see the light of day at some point in the not too distant future (can we say, “release before 2044?”). It relies heavily on a standard heightmap (an array of floats) to represent procedurally generated planets.
Since my artistic talents are limited, and I still wanted a high variety of effects to be able to alter this heightmap through gameplay, I came up with the “crater tool.”
This uses a mix of techniques, such as easing functions and Voronoi diagrams, to generate arrays of floats that can then be applied to the heightmap as masks or “stamps.” It’s possible to apply multiple layers of falloff, noise, and so on to make each type of “crater” more unique. Though it began as a tool specifically for craters, it’s now used to generate building footprints and other types of stamps too. This demonstrates a tendency of custom tools to grow bigger than their intentions.
Functionally, it’s extremely simple, since the content it generates is just an array of floats. But it’s made it really fast to create content specific to the project.
Ogier Editor
For almost six years, I worked with the Ogier editor at Starbreeze. This tool was used to put levels and logic together, and has what can be called a “target-based” idea behind it. You manually place objects in the world, and you then use a spline and/or timeline to make them do things by sending impulses to other pieces of content.
In the below example (from the much older Enclave Ogier editor documentation), an elevator is scripted using this timeline. On 0, it does nothing. This is because it’s waiting to have the impulse sent to it. It will trigger after it receives an impulse from the button in the image (you see that the button has a green arrow pointing to the elevator).
Once it gets that impulse, it will play sounds on 0.1, 9.5, and 9.9 seconds in its timeline. It will then wait for another impulse at 10, and if it receives that impulse (still from the same button) it will play the sounds in reverse as it goes down. You can see the yellow line that represents the path for the elevator.
This scripted logic could potentially have been made in an animation tool, or some other adjacent tool with a timeline, but having it in the editor where the level is made means that the concept of a level in a game using this engine required scripters or gameplay designers (like yours truly).
The target-based nature of the scripting is the way objects impulse each other and react to impulses. Every scripted interaction has a target, and you therefore only need to script exactly the things that are going to be interactive and you can maintain this scripting in world space inside the editor.

Building Custom Tools
You need to know what the content you are going to make looks like. What data it contains and how that data is used in your game. But there is a lot more to it!
“First, you need to write the tool for the user of the tool,” said John Romero. “So, if a level designer is going to be using your tool, that’s the person that you need to make the tool for. Make it as easy as possible, with as much power as they are asking for. It’s also important to take the time to really use the tool yourself, so you can experience what’s annoying about it.”
Established third-party tools will have all the conveniences you’ve come to expect. Everything from proper undo/redo to box selection of nodes in a graph tool. Even things you may think of as trivial and meaningless, such as CTRL+S for saving your files or ESC to abort a modal action. If you make your own custom tool, you will have to figure all of these things out. You will have to waste expensive development time on implementing your own versions of these established functions.
If there is no undo/redo, or undo/redo behaves unpredictably, it will wreak havoc with the workflow of the tool users. Which keys are used to perform standardised actions like moving a camera or selecting an object will also often lead to time-consuming errors made in the custom tool. We’ve come to expect certain conveniences from our digital interactions.
John Romero again.
“[A] lot of times, when designers ask for some power, […] tools programmers don’t go far enough asking the questions about ‘Why do you want that? What is it that you’re actually trying to do?’ Because we can wrap up a lot of functionality for you to make it easy when you want to put these things in the world… versus ‘here are all these components… have fun, level designers!’ and then the programmers run away.”
Work Debt
In that second quote, Romero is explaining one of the most common pitfalls in tools development: making tools that wrap the underlying logic with graphical interfaces and then assume that the users of the tools will simply “get it.” Make the system, build the tool, then hand it over to someone else. The more complex the content you need to create with the tool, the worse this can get.
First, it can be because the tool was made by people who have never used similar tools themselves and didn’t have enough time or didn’t bother to make proper research or ask someone. Sometimes because there was no “someone” to ask, because the tool has no established standard. The tools used as examples before would require that you understand the games they were developed for. The concept of a “spawn set” has no meaning to anyone outside of the small team that worked on that Riddick mobile game.
Secondly, it can be because the people who work with the tools have no relationship to the underlying systems that the tool generates content for. One place where I worked, we often had the problem that animators didn’t correctly set the origin point on export. Something they couldn’t see in their animation tool that was immediately obvious in the game engine and often meant they had to export everything twice. When the deadline starts looming, stress will make this happen repeatedly.
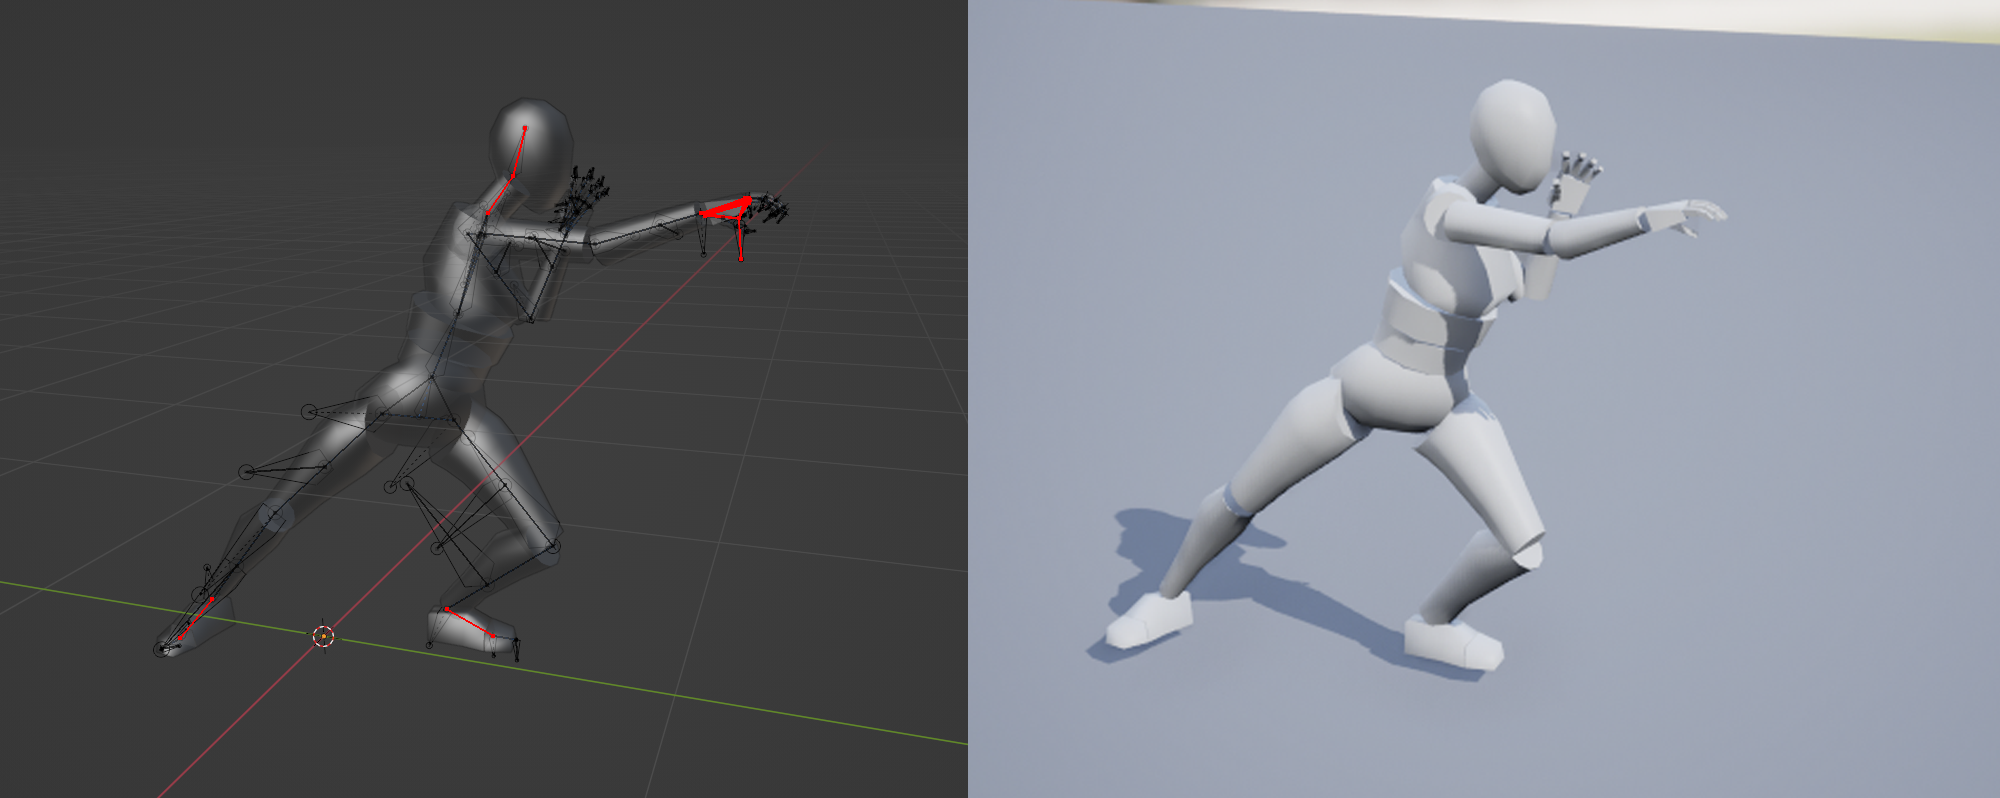
Thirdly is when the tool we have made does things that established tools do, but worse. One of my pet projects for years has been to make a pose-based procedural animation system. For several months, I worked on in-engine tools where I wanted to be able to pin certain bones and use IK to generate the poses. One day, I decided to try a Blender plugin instead, and after two hours of experimentation it was already a better setup. Why? Because Blender already had all of the other functionality that was needed. A very important lesson for me, since I always believed “custom tools” was the universal way to go. (This lesson is also why I wrote this post…)
Fourth, and the worst offender when it comes to work debt, is that you make tools with no plan for who should be using them. The fairly recent emergence of Gameplay Designers and Technical Designers has often been a means to fill oddly studio-specific gaps. Employees whose entire job is to work with custom tools and object pipelines. Sometimes as liaisons between content production in established tools and content production inside the engine; at other times, locked into the studio’s own pipeline, making their competence fairly narrow. For example, by scripting the events in cutscenes, or the effects in our combat, or populating worlds with enemies and interactive objects.
It’s when you combine all these problems that you risk accumulating work debt. Something that seems to have plagued many technically complex games. When all you say is that “someone” will have to do the work at some point and there’s no actual someone around, it’ll mean overtime. Lots of it. It’s the form it takes when you pay off your work debt.
When to Make Custom Tools
There are really only two answers to the risk of work debt. The first is to plan who makes things in the custom tools, and the other is not to make custom tools at all.
Jim Shepard argues for the latter, in the book Procedural Generation in Game Design.
“Stopping your development flow to build a new editor by hand is the surest way to get lost in the weeds,” he writes. “Text files are easy to manipulate, and you can do so in Notepad […]. If your game requires more complexity, first double-check that it actually does, and if so, look into one of the many already existing tools for data manipulation that are quick, clean, and well tested. Don’t pour time and energy into a complicated system that will cause more frustration than it is worth.”
We know how to plan art asset creation, programming, even design iteration. But if we create a custom tool, there’s rarely a clear method for how to fit it into the schedule or even who should be using the tool. It’s also highly likely that we will keep working on the tool throughout development, making it an unstable production platform.
To sum this up, before you make any custom tool, consider four things:
- What is the content you need to produce or tweak?
- What is the simplest way to represent said content?
- Is there already an established tool that can be used to generate this representation?
- If not, and you decide to make a custom tool, who is going to use it?
Answer all four before you start making a new tool, and don’t accumulate work debt.

5 thoughts on “Custom Tools and Work Debt”